During my first year of grad school, a classmate gave me my first starter. I have been baking bread ever since. After experimenting with a variety of ways to either acquire or make starter, I have concluded that there really is no “right” way to do it. I have both successfully maintained starter for years and had to throw out starter that got moldy after less than a month. In fact, making sourdough remains interesting precisely because of how the process is so variable dependent. Making sourdough is both extremely unpredictable and incredibly intuitive.
My best advice for beginners is just to find a method that works and stick with it. Over time, you will adapt your process to one that works best for you. Sourdough starter is easily stored in the refrigerator, is fairly forgiving, and can be revitalized with daily feedings. Since there are already a number of fantastic resources out there with more detail than I could ever hope to provide, I am not seeking to rival any of their instructions. Instead, my aim is to provide some simple steps for developing a minimum viable product starter loaf as well as some recommended resources for you to continue your journey.
Feeding the Starter
I recommend feeding starter once a day. You can occasionally skip a day or two, but make sure to feed it daily for a few days before using. If it is stored in the fridge, it does not need to be fed as frequently. Every 2-4 weeks should be sufficient.
I use a scale and feed the starter 50% water & 50% flour by weight. The flour I use is a combination of 50% all purpose white flour & 50% wheat flour. However, if you are just getting started, I recommend just sticking with 100% all purpose white flour. There are a lot of ways that you can deviate from this method, and the more I work with sourdough, the less concerned I have become with adhering to a particular ideology. Just find a method that works for you and stick with it.
The Most Basic Loaf
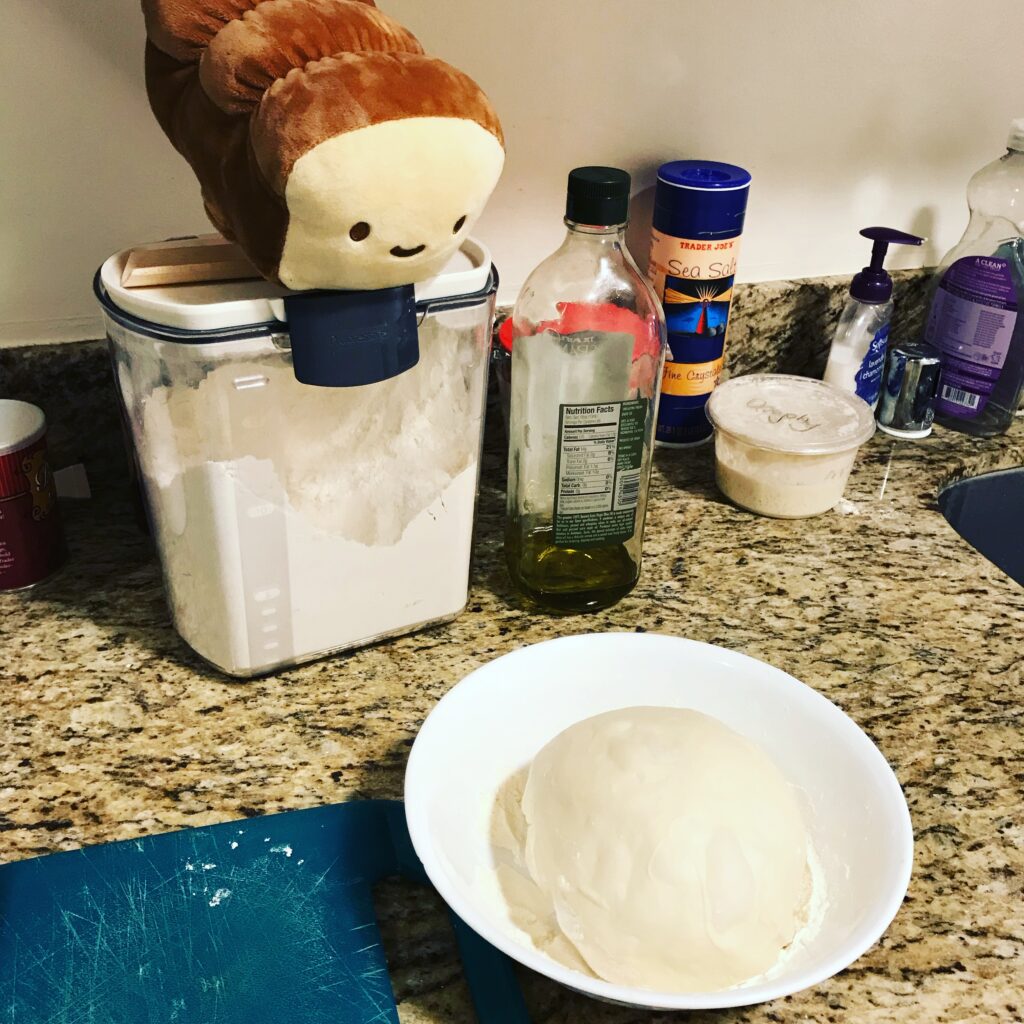
Step 1: Mix Ingredients
Ingredients:
- 3 cups of flour
- 1 tbsp salt
- 1 cup starter
- 1 cup warm water
Mix ingredients, knead lightly, and let sit for about an hour.
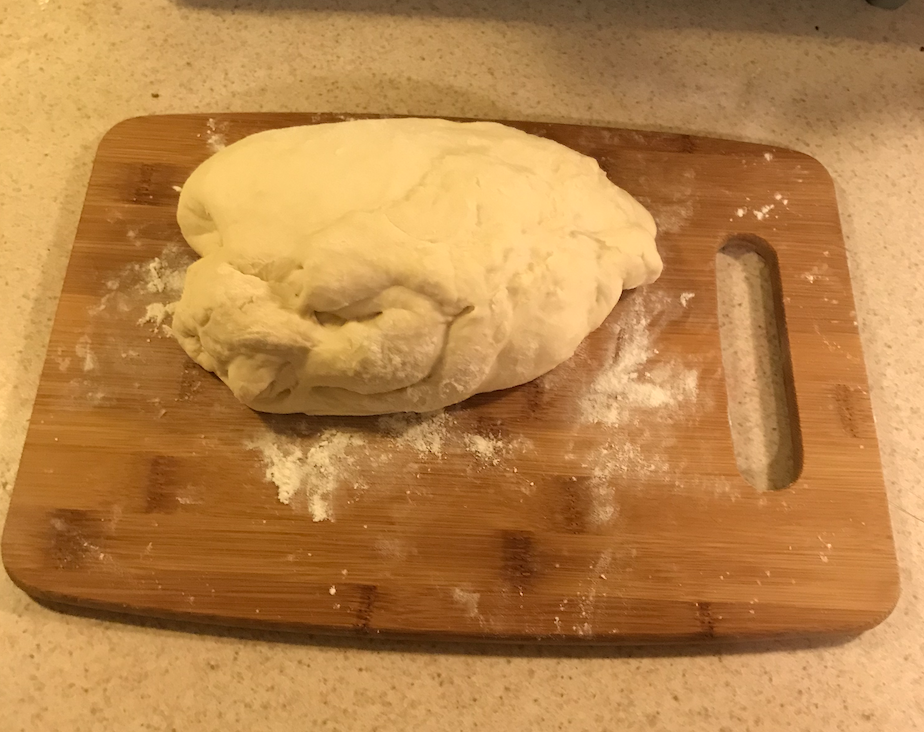
Step 2: Shape the Loaf
The goal here is to fold the dough into a round so that it gets a round shape. Here’s a Ken Forkish tutorial that provides an adaptable overview of this step:
Don’t worry if you mess up this step! When I first started making sourdough, I did not know how to shape my loaf and skipped this step. However, I still wound up with a tasty & edible loaf!
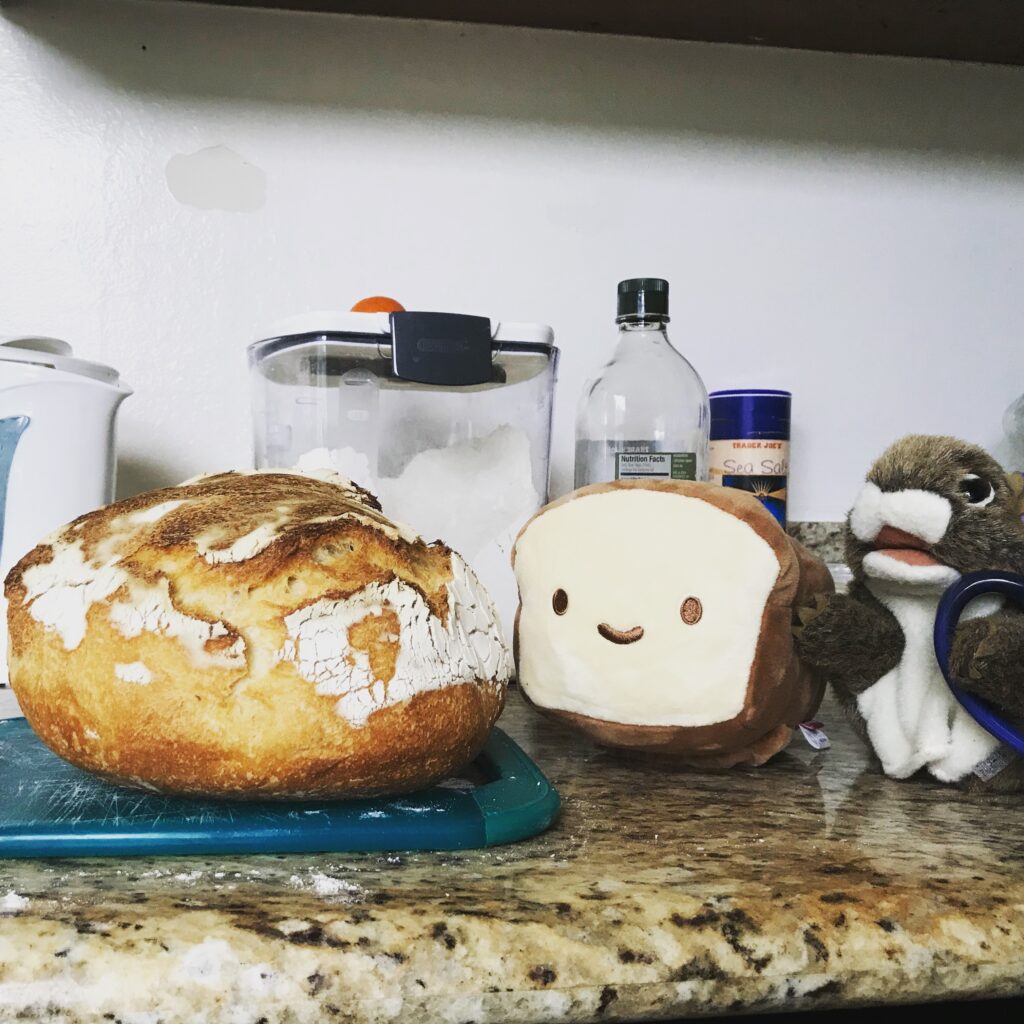
Step 3: Let Loaf Rise
Once you shape the dough, let it rise in a proofing basket or large bowl for 10-12 hours.
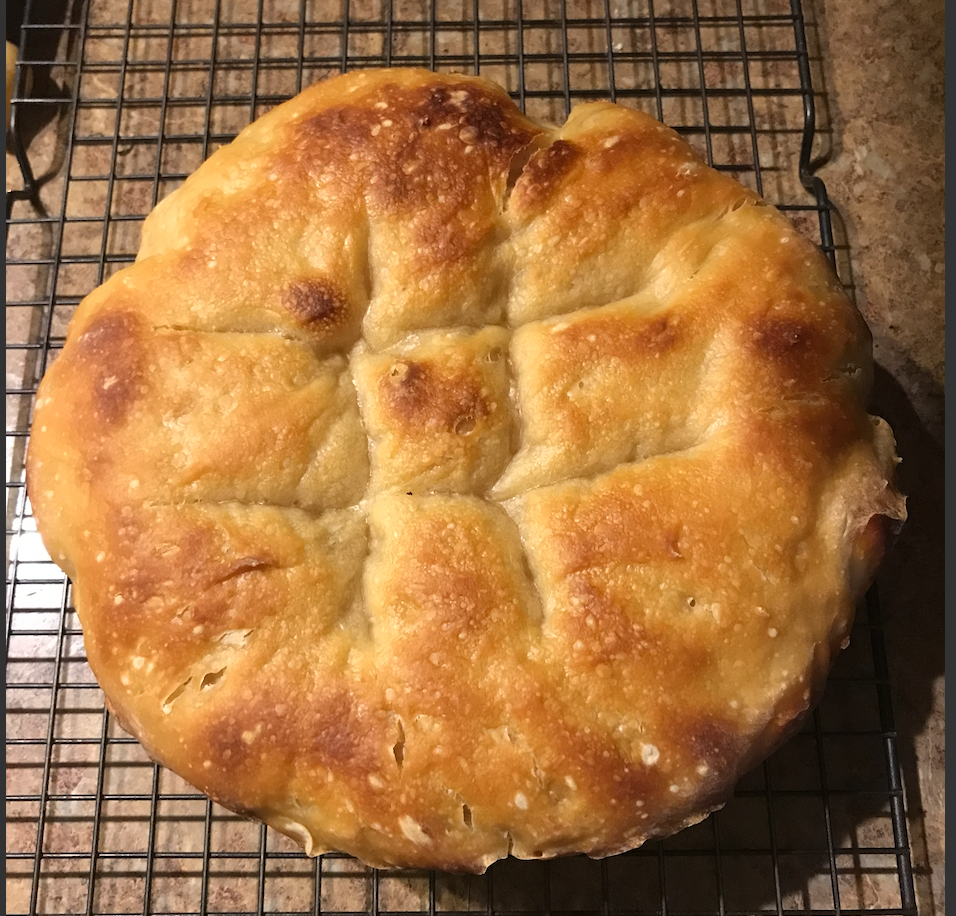
Step 4: Bake the Bread
- Preheat the oven to 475 degrees
- Score the loaf with a sharp knife
- Bake at 475 degrees for 30 minutes in a preheated dutch oven with the lid on
- Remove the lid and continue baking at 425 degrees for 20-25 minutes with the lid off
Resources for Improving
- The Perfect Loaf – Beginner’s Sourdough Bread. A friend of mine recently recommended this site and told me that she followed the instructions for her first loaf. Her loaves have been coming out beautifully so wanted to pass the tip along.
- I recently compiled a list of sourdough book recommendations. All three books that I recommended contain instructions for beginners. To recap:
- The Cheese Board Collective Works – I recommend this book to anyone that wants to continue expanding on the basic loaf I introduced above.
- Flour Water Salt Yeast: The Fundamentals of Artisan Bread and Pizza – I recommend this book to anyone who really wants to dive into the technical methodology of sourdough bread.
- Tartine Bread – I recommend this book to anyone who wants to experiment with the variety of ways to use sourdough.